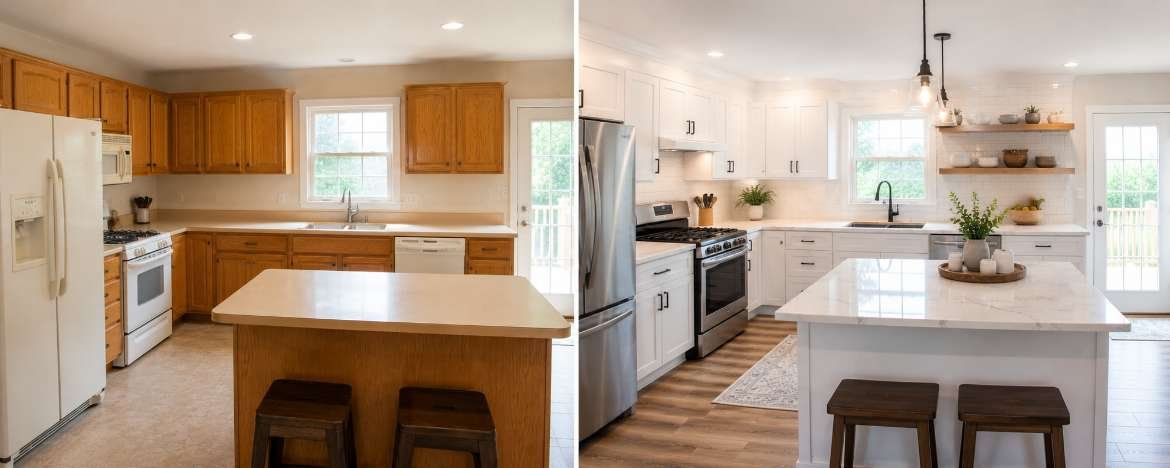
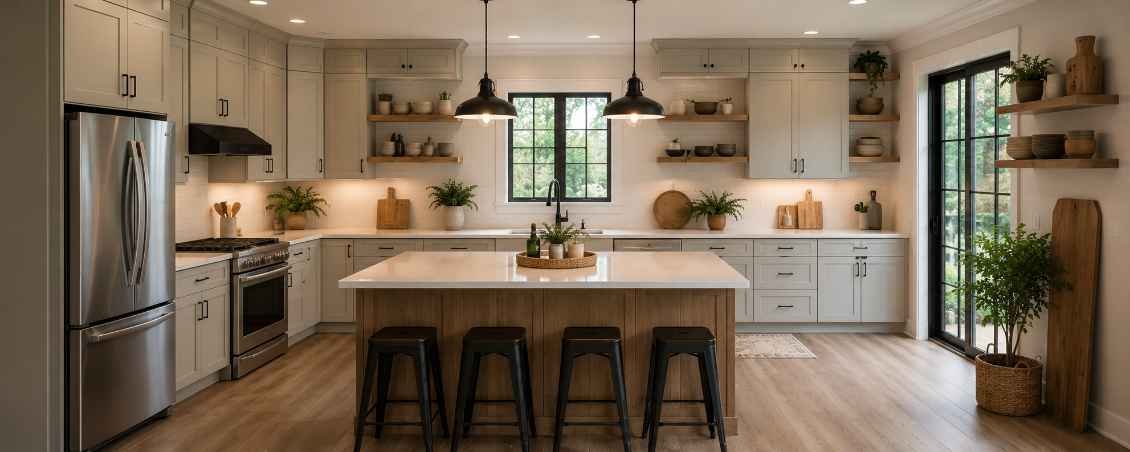
I learned quickly that a kitchen remodel becomes expensive the second you start moving plumbing and electrical lines. The smartest upgrade I made was keeping the original layout intact and focusing on surfaces, storage, lighting, and countertops instead. Those changes delivered a dramatic visual difference without destroying my budget.
Most homeowners underestimate how much impact comes from sequencing projects correctly. A clean remodel order prevents costly mistakes, protects new finishes, and keeps the kitchen functional longer during construction.
Why Keeping Your Existing Layout Changes Everything
Keeping your sink, stove, and refrigerator in the same locations cuts thousands from labor costs. You avoid relocating drain lines, gas connections, ventilation routes, and dedicated electrical circuits.
I noticed another advantage immediately. Existing layouts already reflect structural realities like wall framing, vent placement, and appliance clearances. Working within those boundaries speeds up the entire remodel.
That approach also leaves more room in the budget for visible upgrades like countertops, cabinet fronts, lighting, and hardware.
The Smartest Order for a DIY Kitchen Remodel
A chaotic remodel creates expensive rework. I found that following a strict order saved time and prevented material damage.
Create a Temporary Kitchen First
Before demolition started, I moved a microwave, coffee station, and mini refrigerator into another room. That single step reduced stress more than any other preparation.
Paper plates and a folding table kept daily life manageable while the kitchen stayed partially functional.
Handle Demolition Without Damaging the Structure
I protected the subfloor using thick cardboard and ram board before removing cabinets. Dropped pry bars and drills can ruin hardwood instantly.
I also capped plumbing lines immediately after disconnecting the sink. Even tiny leaks can damage subfloors behind cabinets.
Reusable sinks, faucets, and appliances were removed carefully and sold locally instead of dumped.
Finish Flooring and Walls Before Cabinets
Painting ceilings and walls first prevents splatter damage on expensive counters and backsplashes later.
I also replaced damaged trim before cabinet installation. Fresh baseboards made the entire kitchen feel newer even before major upgrades started.
Cabinet Upgrades That Look Custom Without the Price
Cabinets consume a huge percentage of most remodeling budgets. Full replacement often delivers the lowest return per dollar.
Why Refacing Beats Full Cabinet Replacement
If cabinet boxes remain level and structurally sound, replacing only the doors creates a dramatic transformation for far less money.
I sanded and painted the existing cabinet frames using cabinet enamel, then installed modern shaker-style fronts with soft-close hinges.
The result looked custom-built from a distance.
Running cabinets higher toward the ceiling also changed the room visually. Small cubbies and open shelving eliminated awkward dead space above upper cabinets.
Remodel Comparison Table: Highest Impact Upgrades
| Upgrade | Cost Level | DIY Difficulty | Visual Impact | Best For |
| Cabinet Refacing | Medium | Moderate | Very High | Budget remodels |
| Butcher Block Counters | Medium | Moderate | High | Farmhouse kitchens |
| Microcement Overlay | Low | Moderate | High | Modern kitchens |
| New Hardware | Low | Easy | Medium | Quick refresh |
| LED Lighting Upgrade | Low | Easy | High | Small kitchens |
| Workstation Sink | Medium | Moderate | High | Functional upgrades |
| Full Cabinet Replacement | Very High | Hard | Very High | Structural redesigns |
Storage Upgrades That Make Old Cabinets Feel New
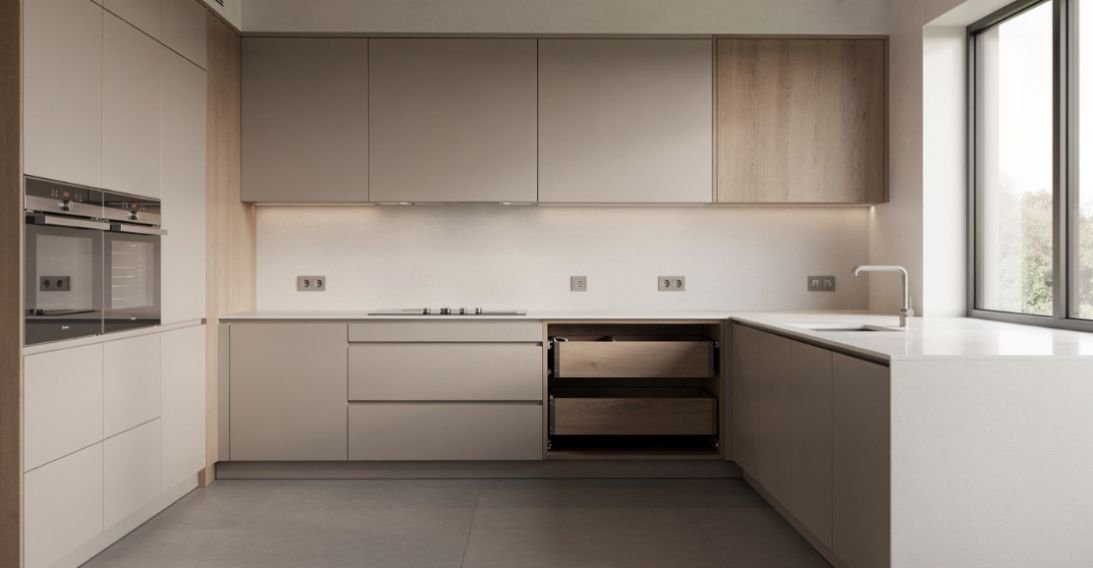
Deep cabinets waste space fast. I installed aftermarket pull-out trays inside lower cabinets, which made cookware easier to access instantly.
Blind-corner organizers also solved one of the most frustrating storage issues in the room.
Door-mounted spice racks added storage without changing the footprint.
Hardware Swaps That Instantly Modernize the Room
Small details completely changed the kitchen aesthetic.
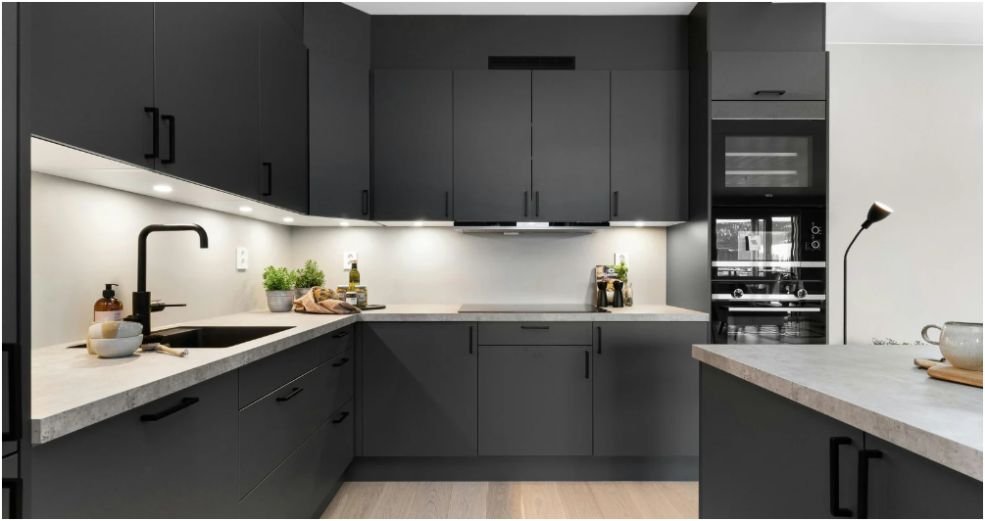
For a modern kitchen, I used slim matte black pulls with straight lines.
For farmhouse styling, cup pulls and exposed hinges created more warmth and texture.
Countertop Changes That Transform the Entire Kitchen
Countertops visually dominate the kitchen. Replacing them delivered the biggest design shift in my remodel.
Best DIY-Friendly Countertop Materials
Modern laminate surprised me most. New high-definition stone patterns with square edges look dramatically better than older rolled-edge versions.
Microcement overlays also created a seamless concrete appearance directly over laminate.
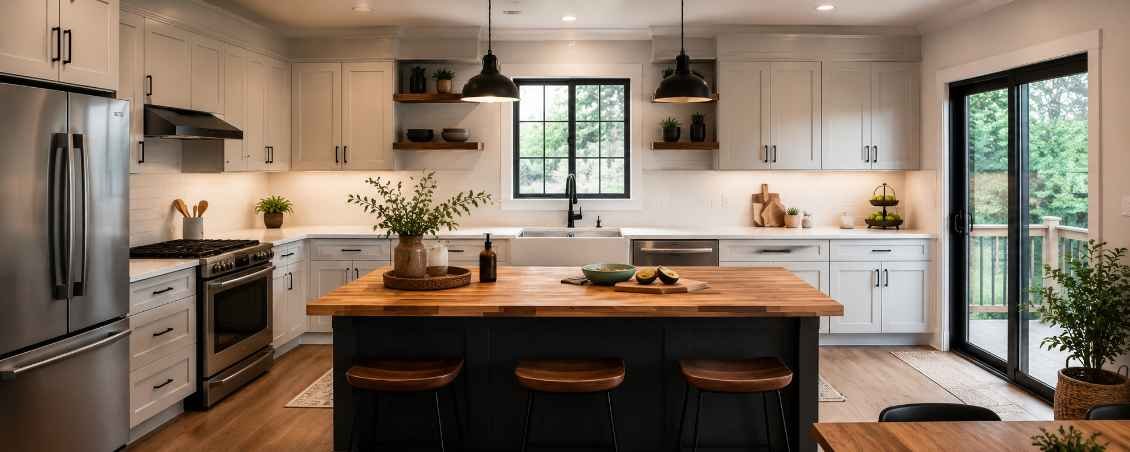
Pre-cut butcher block delivered the warmest visual effect for the lowest price.
Solid surface acrylic countertops offered another advantage. Scratches can be sanded away without replacing the slab.
Modern Countertop Design Choices
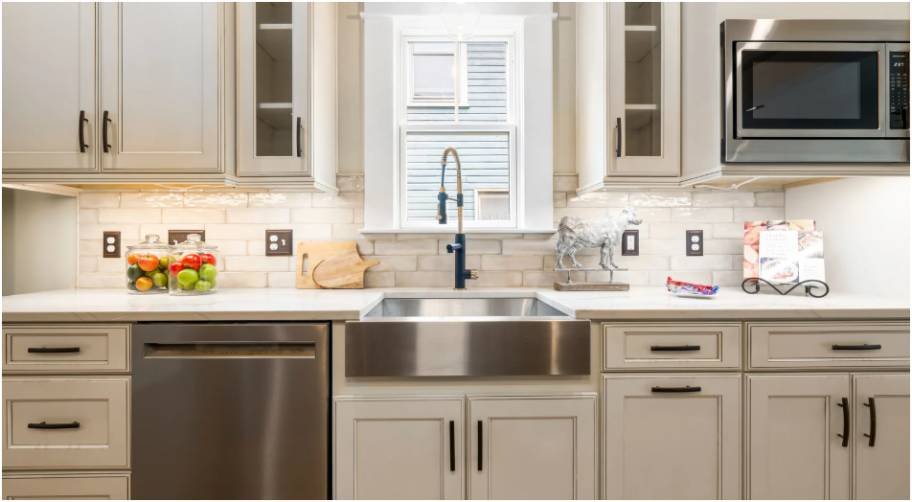
The biggest improvement came from removing the outdated 4-inch backsplash lip.
Flat countertop slabs running directly into full-height tile looked cleaner and more expensive immediately.
Thin countertop profiles also modernized the kitchen faster than decorative edge details.
I paired the counters with an undermount workstation sink and matte black faucet to keep the lines clean and uninterrupted.
Farmhouse Countertop Design Swaps
Farmhouse kitchens rely heavily on texture.
Butcher block counters instantly softened the room. Honed white quartz created a classic farmhouse look without marble maintenance concerns.
Concrete countertops added a rugged industrial feel that worked especially well with reclaimed wood shelving.
An apron-front farmhouse sink became the focal point, though it required cabinet reinforcement underneath due to the sink weight.
Backsplash and Lighting Tricks That Add Instant Style
Lighting and backsplash upgrades create disproportionate visual impact compared to their cost.
Why Flat Countertops Look More Expensive
Removing the built-in backsplash strip allowed me to run tile vertically from counter to cabinet.
That single design change made the kitchen feel custom instead of builder-grade.
I used some inspiration from other affordable backsplash ideas to avoid overcomplicating the wall design.
Simple white tile with darker grout created more contrast and depth than expensive patterned options.
Better Lighting Placement for Small Kitchens
Replacing outdated dome lights changed the atmosphere immediately.
Flush-mount LED panels distributed light more evenly and reduced shadows on work surfaces.
Under-cabinet lighting improved functionality at night while making the counters appear brighter and cleaner.
Appliance and Sink Mistakes Most DIY Remodelers Make
Appliance measurements ruin many remodel budgets.
Counter-Depth Appliance Planning
Standard refrigerators often stick out beyond the counter line awkwardly.
Counter-depth models maintain cleaner visual alignment and improve walking space in smaller kitchens.
Measuring Cabinet Openings Correctly
I measured every appliance opening three separate times.
Walls are rarely perfectly square, especially in older homes. Even small measurement errors can delay installations by weeks.
Cardboard templates helped verify countertop seam placement before ordering material.
Farmhouse Sink Support Requirements
Farmhouse sinks require additional cabinet support inside the base cabinet.
I built a reinforced internal cradle using 2×4 framing before installation. Fireclay sinks become dangerously heavy once filled with water.
DIY Projects You Should Never Attempt Alone
Some kitchen upgrades should stay firmly outside DIY territory.
Gas line modifications create severe fire risks if installed incorrectly.
Main electrical panel work also requires licensed professionals in most states.
Large drywall ceiling finishing often looks deceptively easy online but becomes difficult to perfect without experience.
I found that paying professionals selectively saved money overall because failed repairs cost far more later.
My Biggest DIY Kitchen Remodel Lessons
Your Wallet Loves Planning More Than Demolition
The biggest lesson I learned was simple. Careful planning saves more money than aggressive bargain hunting.
Keeping the layout intact gave me room to invest in features people actually notice. Countertops, lighting, storage mechanics, and cabinet fronts completely changed the kitchen experience without requiring a full reconstruction.
The smartest DIY remodels do not chase perfection. They focus on high-impact upgrades that improve daily life immediately.
FAQs
1. What are the best diy kitchen remodel tips for beginners?
Start with paint, cabinet hardware, lighting, and backsplash upgrades before attempting plumbing or structural work.
2. Is it cheaper to reface cabinets or replace them?
Cabinet refacing costs significantly less if the existing cabinet boxes remain structurally sound.
3. What countertop material is easiest for DIY installation?
Butcher block and laminate remain the most beginner-friendly countertop options for DIY remodelers.
4. Should I keep my existing kitchen layout?
Yes. Keeping the current layout avoids expensive plumbing, electrical, and gas line relocation costs.
5. Are farmhouse sinks difficult to install?
They require cabinet modifications and reinforced support framing due to their heavy weight.